Our guide. How to plant plants in Lechuza pots.
Planters with the Lechuza irrigation system provide optimal conditions for plant growth. Planting in pots is simple and does not require specialized gardening knowledge.
Lechuza pots are innovative containers with an irrigation system that provides plants with optimal growth conditions. In this article you will find a step-by-step guide on how to plant plants in these pots.
Step 1: Choosing a Lechuza pot
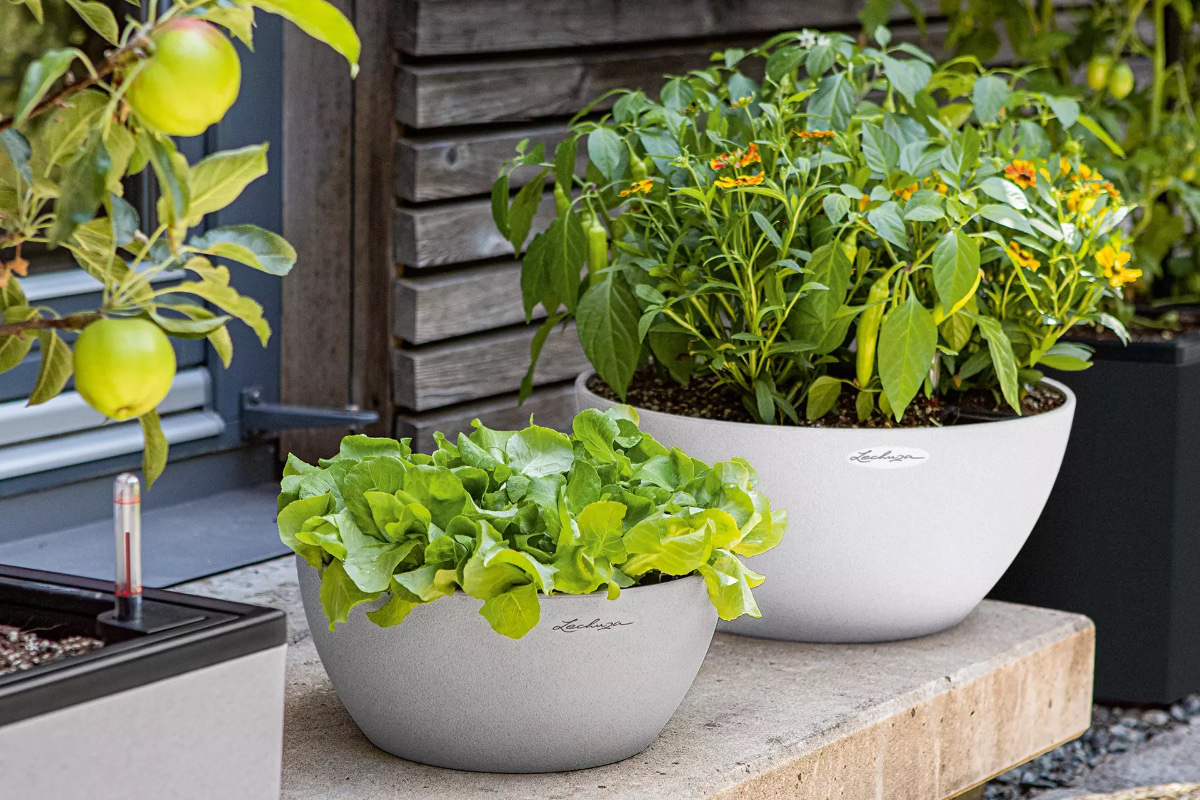
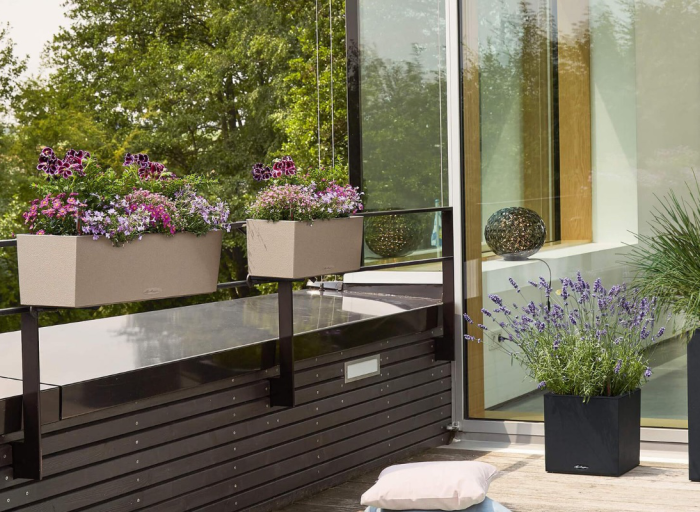
Choose the right Lechuza pot for your needs. Make sure the size of the pot matches the size of the plant you intend to plant. Lechuza pots are available in various shapes and colors, so you can choose one that suits your interior. The size of the pots is usually included in its name, e.g. Lechuza Canto 30 or Lechuza Classico 50.
Step 2: Preparing the pot
1. Unpacking: Remove the Lechuza pot from the packaging and check that all elements are included, including the pot's inner insert, separator and water level indicator. Each model of Lechuza pots has a different design, and full information on what is included in the set can be found on the assembly instructions attached to the pot.
2. Separator: Place the separator at the bottom of the pot. The separator separates the substrate from the water tank, which allows for effective irrigation. Some smaller Lechuza pots do not have a separator but use a simplified string system for moisturizing the substrate.
3. Expanded clay: Spread a layer of expanded clay on the separator to help with drainage and ensure proper air circulation in the root zone.
Step 3: Preparing the substrate
Use the right substrate for the type of plant you are planting. In most cases, you can use universal soil for potted plants. You can also add a bit of perlite or vermiculite to improve drainage and structure of the substrate.
Step 4: Planting the plant
1. Inserting the Plant: Remove the plant from its original pot. If the roots are strongly connected, gently separate them.
2. Placement in a pot: Place the plant in a pot on a layer of expanded clay. Make sure the plant is set at the appropriate height.
3. Adding the substrate: Add the substrate around the plant, pressing gently to remove air and ensure stability. Make sure that the ground level is a few centimeters below the edge of the pot.
Step 5: Irrigation system
1. Water Level Indicator: Place the water level indicator in the dedicated hole.
2. Filling the tank: Fill the tank with water through the filling hole until the water level indicator shows the maximum level. The Lechuza system will ensure proper watering of the plant for a long time.
Step 6: Plant care
1. Hydration: Monitor the water level indicator and fill the reservoir when the water level is low. The Lechuza system allows you to water plants for up to several weeks without the need for frequent watering. In the first 2 weeks after planting the plants, water them normally. Afterwards, only refill the irrigation system.
2. Fertilization: Fertilize your plants regularly, using fertilizers adapted to their needs. You can use liquid or granulated fertilizers by adding them to the soil.
3. Light and temperature: Place the pot in a place that provides appropriate light and temperature conditions for a specific plant.
Lechuza pots are a perfect solution for people who want to provide their plants with optimal growth conditions with minimal work. Thanks to the irrigation system, your plants will be healthy and beautiful all year round. Remember to check the water level regularly and adapt care to the individual needs of the plants.
Featured articles
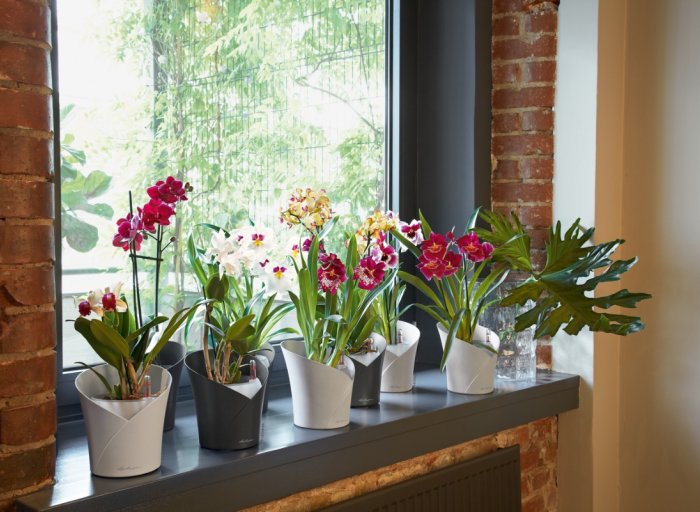
Grow your orchids correctly. Lechuza's guide.
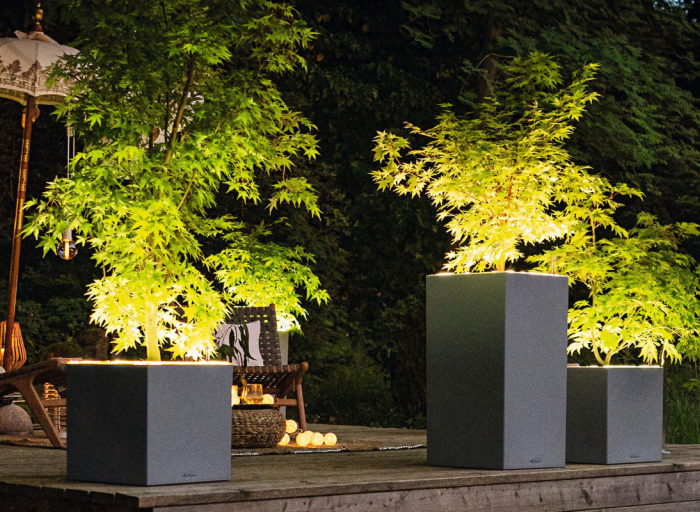
Illuminated Lechuza Canto LED planters. Perfect for home and terrace.
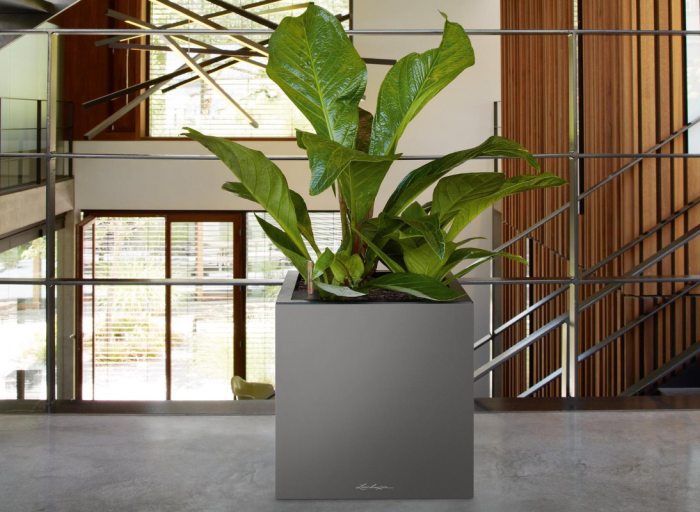
Lechuza pots. Perfect for a home on a terrace or balcony.
 Polish